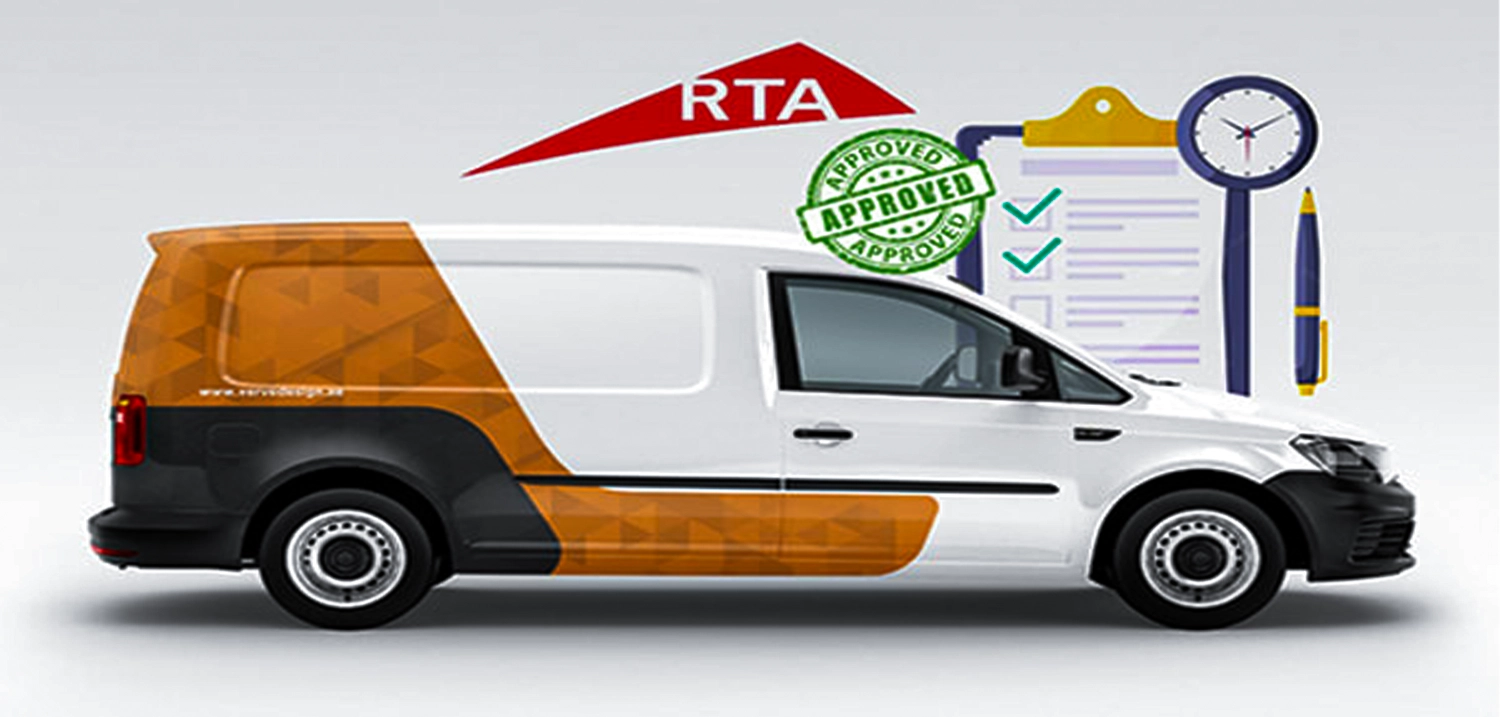
Creating an RTA-approved vehicle branding mockup is more than just placing a logo on a car image. In Dubai, the Roads and Transport Authority (RTA) has strict visual and technical requirements to ensure safety, readability, and brand clarity on public roads.
This blog explains the entire workflow, from preparing vehicle photos to submitting final mockups for approval. It also compares the best software tools and highlights common mistakes to avoid, making it ideal for designers, print vendors, and business owners.
Before a vehicle can display branding in Dubai, it must pass RTA’s review. Mockups are required to:
• Show exact placement of branding
• Confirm visibility and readability
• Ensure no restricted areas are covered
•Validate design consistency across all sides
A clean, professional mockup significantly improves approval speed and reduces rejection risks.
Full Workflow: From Vehicle Photos to RTA Submission
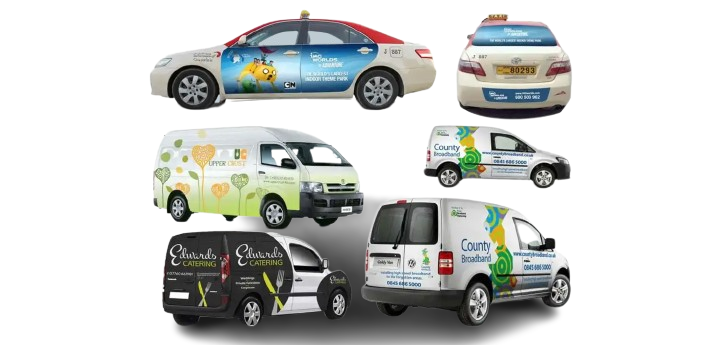
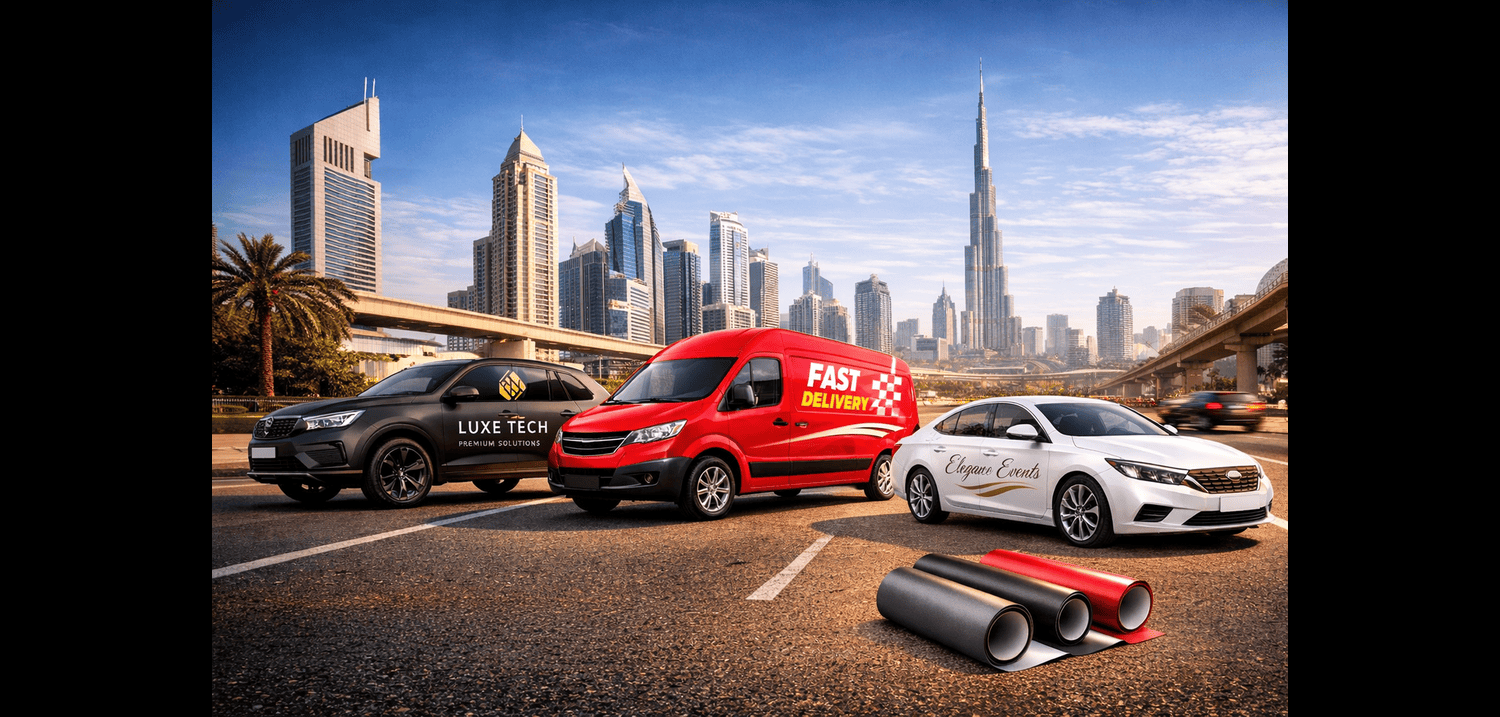
Selecting the correct base vehicle is critical.
Best practices:
• Match the exact model and year (e.g., Toyota Hiace, Nissan Urvan)
• Use realistic proportions
• Avoid generic or cartoon-style templates
Options:
• Official manufacturer images
• Stock mockup libraries
• Custom photos of the actual vehicle
Tip: If the vehicle fleet has variations, create separate mockups for each model.
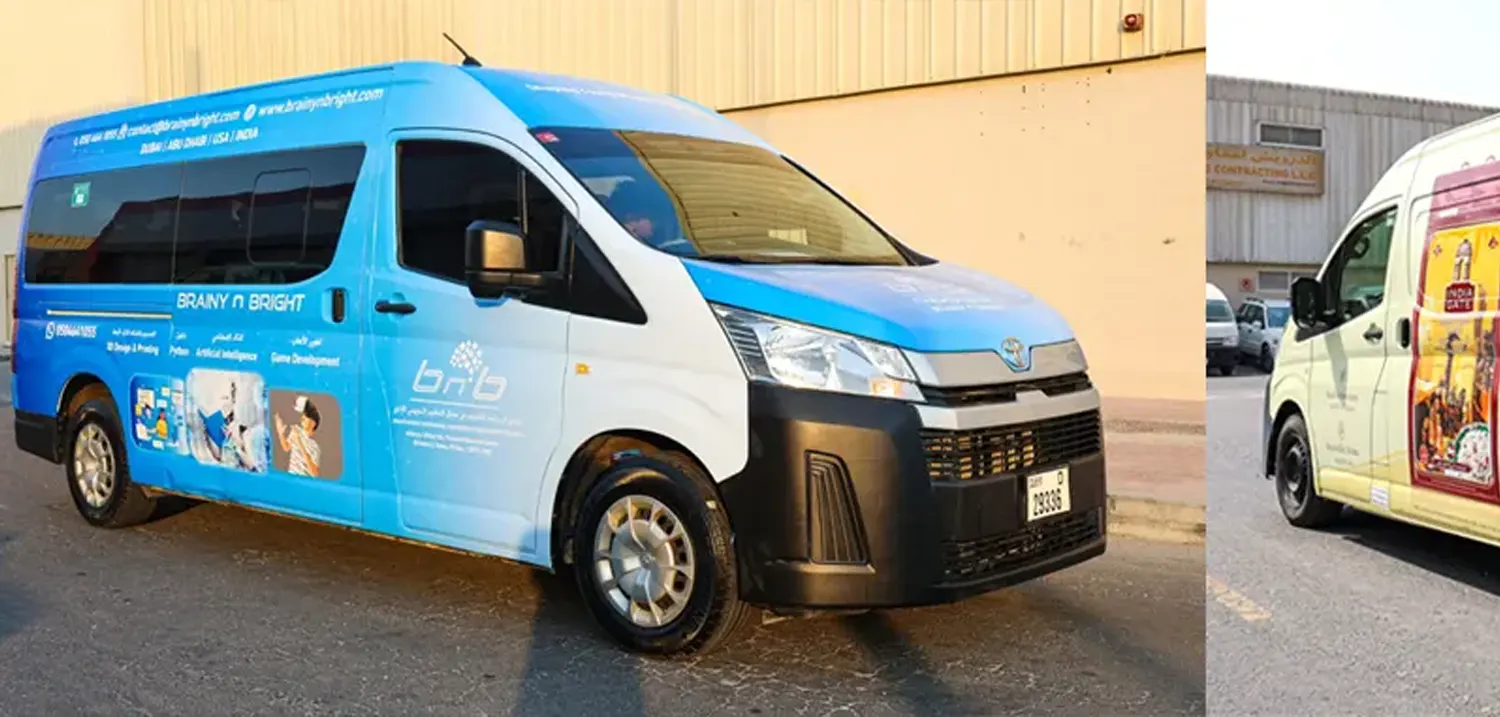
Step 2: Capture or Source Proper Vehicle Photos
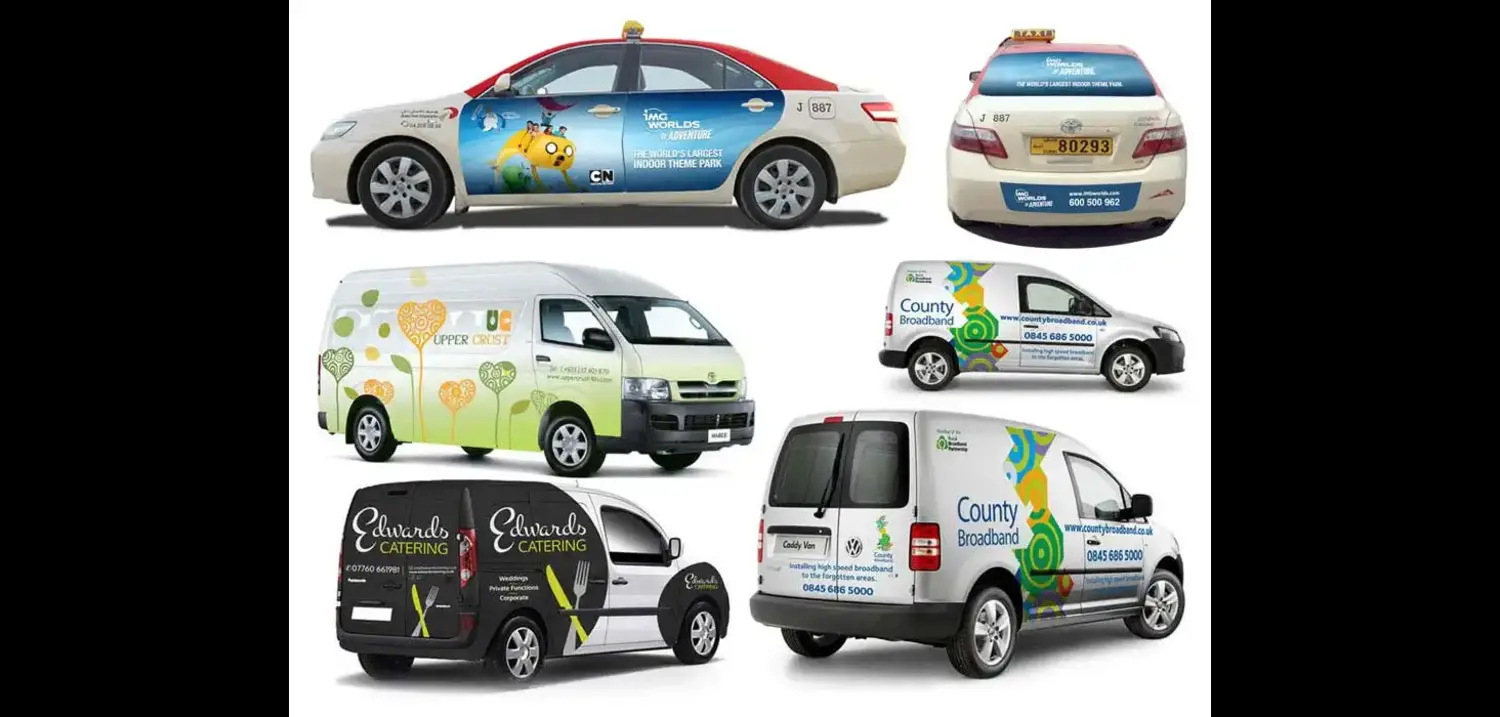
RTA typically expects clear visibility of all branding sides.
Required views:
• Side view (left & right if branding differs)
• Front view
• Rear view
Photo guidelines:
Neutral background (white, grey, or outdoor plain wall)
Vehicle fully visible (no cropping)
• No reflections, shadows, or people blocking surfaces
• Step 3: Prepare Vehicle Photos for Mockups
• Before adding branding, photos must be cleaned and optimized.
Key preparation steps:
Lighting: Even brightness, no harsh glare
• Angle correction: Straight perspective (no tilt)
• Background removal: Clean cutouts using Pen Tool or AI masking
• Resolution: Minimum 300 DPI for clarity
Clean photos ensure logos and text look realistic and professional.
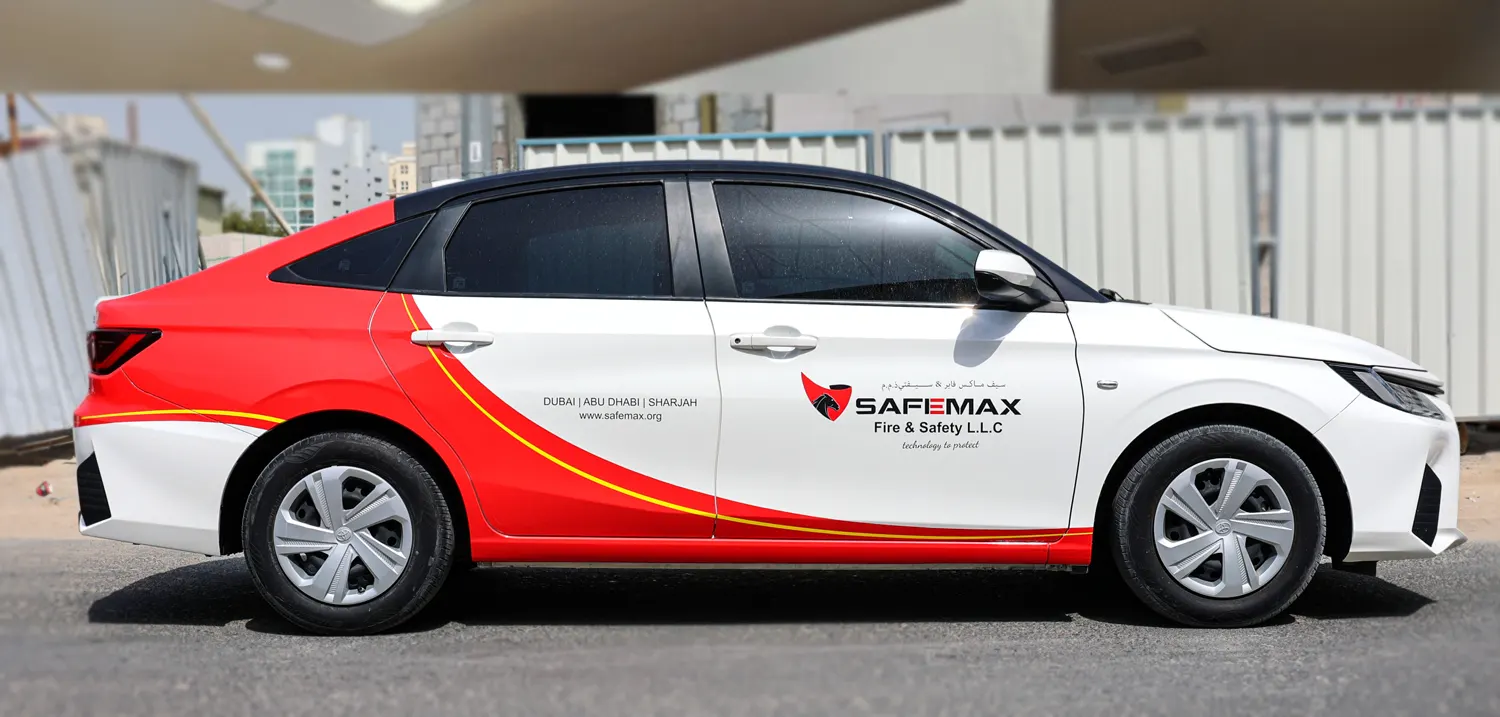
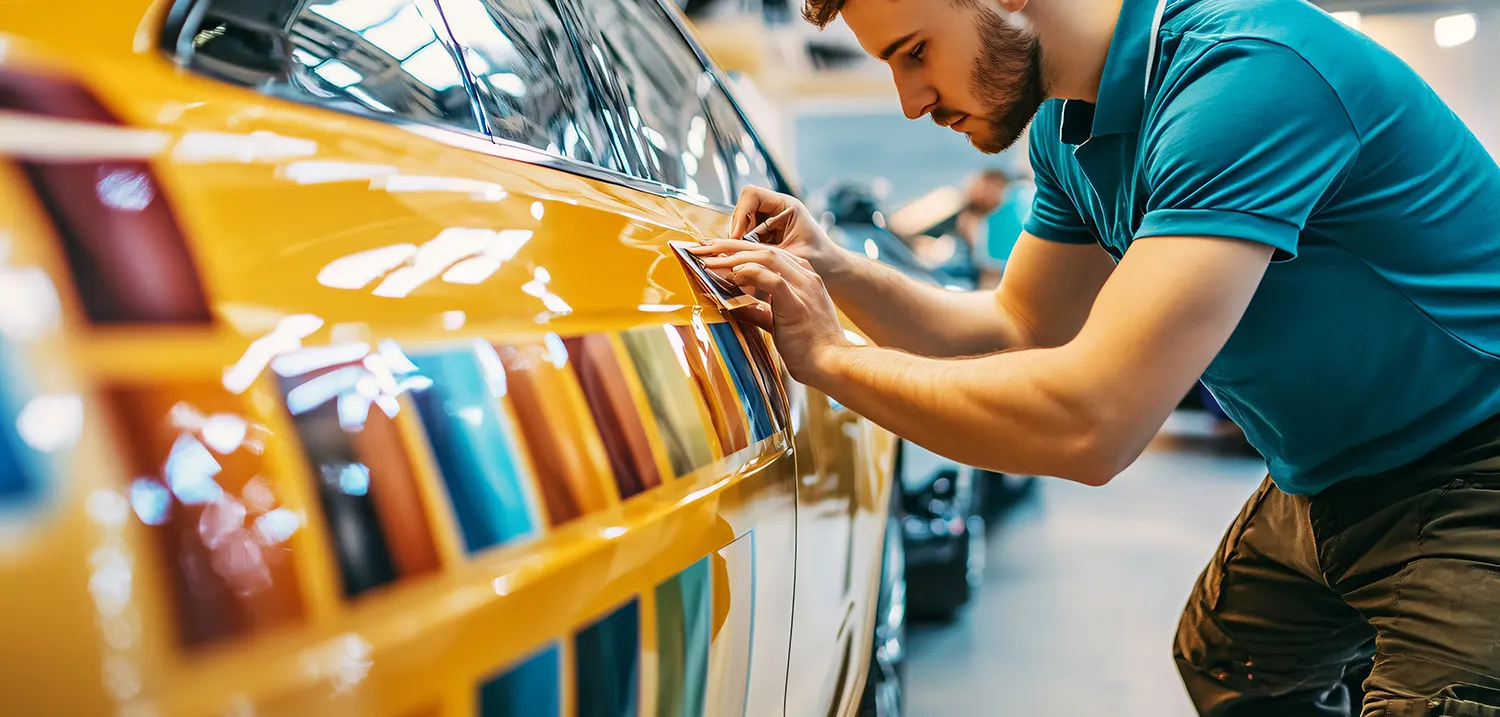
Step 4: Add Logo, Text, and Contact Info Correctly
This is the most critical part of RTA compliance.
Design rules to follow:
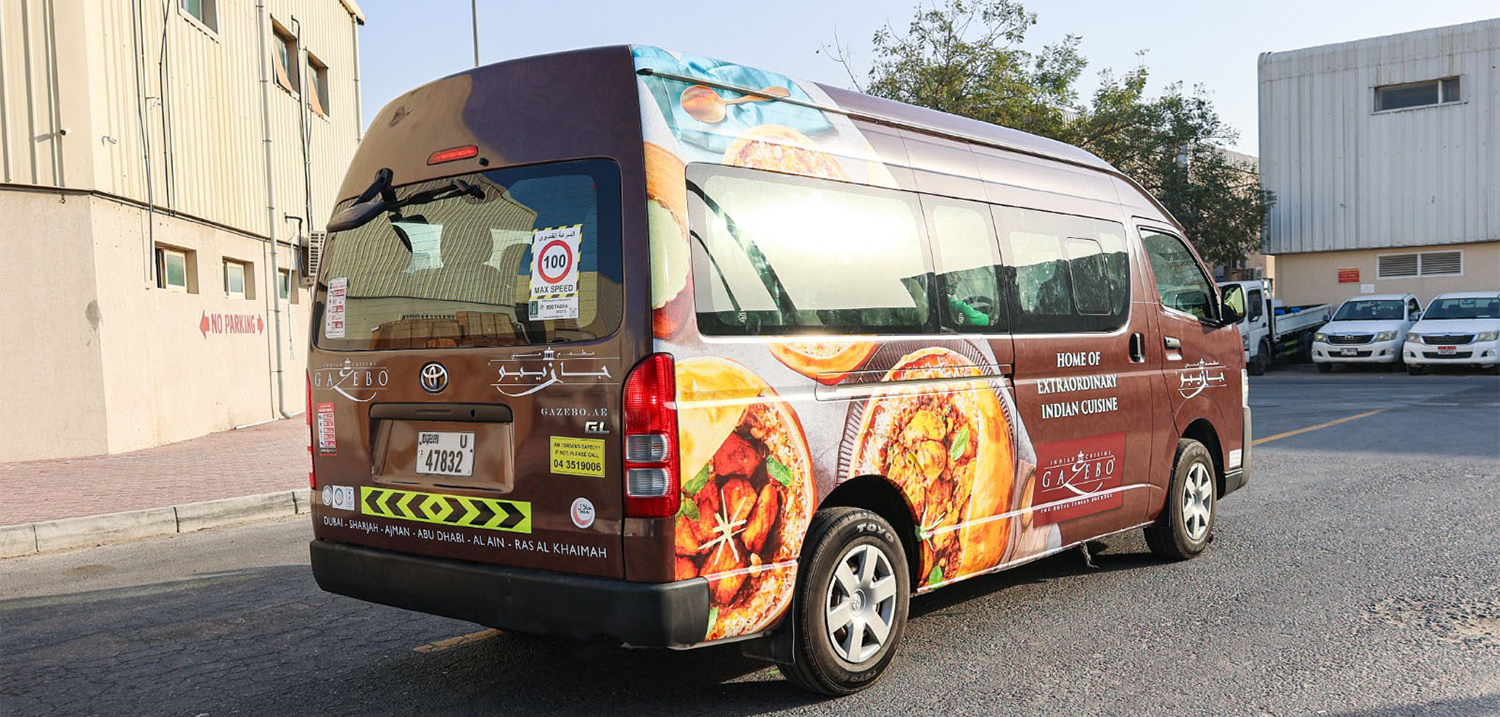
• Place branding only on approved body panels
• Avoid windows, headlights, and license plates
• Keep high contrast between text and vehicle color
• Ensure phone numbers and URLs are legible from distance
Recommended content:
Company logo
Brand name
Contact number / website
Optional service description (short and clear)
Always scale logos proportionally—never stretch or distort.
RTA reviewers compare all sides carefully.
Consistency checklist:
• Same logo size across views
• Aligned text placement
• Matching colors and fonts
• Equal spacing from edges and handles
Misalignment between views is a common reason for rejection.
Step 6: Export Mockups in RTA-Required Formats
Although requirements may vary slightly, standard expectations include:
Common export formats:
• PDF (preferred for submission)
• High-resolution JPG or PNG
• CMYK color mode (print accuracy)
File naming tip:
Use clear names such as:
CompanyName_VehicleModel_SideView.pdf
Best for: Photo-realistic mockups
• Smart Objects for wraps
• Advanced masking and shadows
• Industry standard for approvals
Limitations: Raster-based (scaling requires care)
Best for: Vector-accurate layouts
• Perfect logo scaling
• Clean typography
• Ideal for print alignment
Limitations: Less realistic photo blending
Best for: Print-focused workflows
• Popular with sign and wrap printers
• Strong layout tools
Limitations: Less common among digital agencies
Best for: Quick previews
• Easy to use
• Limited customization
Limitations:
❌ Not recommended for final RTA submission
Best for: Presentations and client previews
• Realistic angles and lighting
• Rotatable views
Limitations:
• Often not accepted alone for RTA
• Should be paired with flat mockups
Branding placed on windows or windshields
Low-resolution logos
Inconsistent mockups between sides
Missing rear or front views
Incorrect vehicle model used
Avoiding these mistakes can cut approval time in half.
1. Does RTA require real vehicle photos or templates?
Both are accepted, but real photos often improve approval chances.
2. Are 3D mockups accepted by RTA?
They can support submissions but should not replace flat views.
3. Can I submit one side view only?
No. RTA usually requires side, front, and rear views.
4. Is Canva acceptable for RTA mockups?
Only for drafts. Professional tools are strongly recommended.
5. What resolution is best for submission?
High-resolution (300 DPI) mockups are safest.
6. Can branding cover the entire vehicle?
Only approved body panels—windows and safety markings must remain clear.
Creating an RTA-approved vehicle branding mockup requires precision, planning, and the right tools. From choosing accurate vehicle templates and preparing clean photos to placing branding correctly and exporting compliant files, every step matters.
By following this structured workflow and using professional design software, you can dramatically increase approval success—saving time, money, and frustration.

Golden Point Advertising LLC, founded in 2002, is a leading brand company in Dubai specializing in digital printing, signage, and branding solutions, delivering premium, customized services to maximize brand visibility and business impact.